When it comes to marketing automation in ecommerce, the key to efficiency lies in choosing a solution synced with all your processes and tailored to your platform. If you’re running a Shopify store, one of the most popular choices in this domain is Klaviyo, which natively integrates with the Shopify ecosystem. However, when connecting your store with Klaviyo, you may encounter some difficulties. We created this article to help you overcome issues with the Klaviyo-Shopify integration and make this process as simple as possible.
What are the benefits of Shopify-Klaviyo integration?
First of all, why should you use Klaviyo for Shopify and prefer it over other similar services?
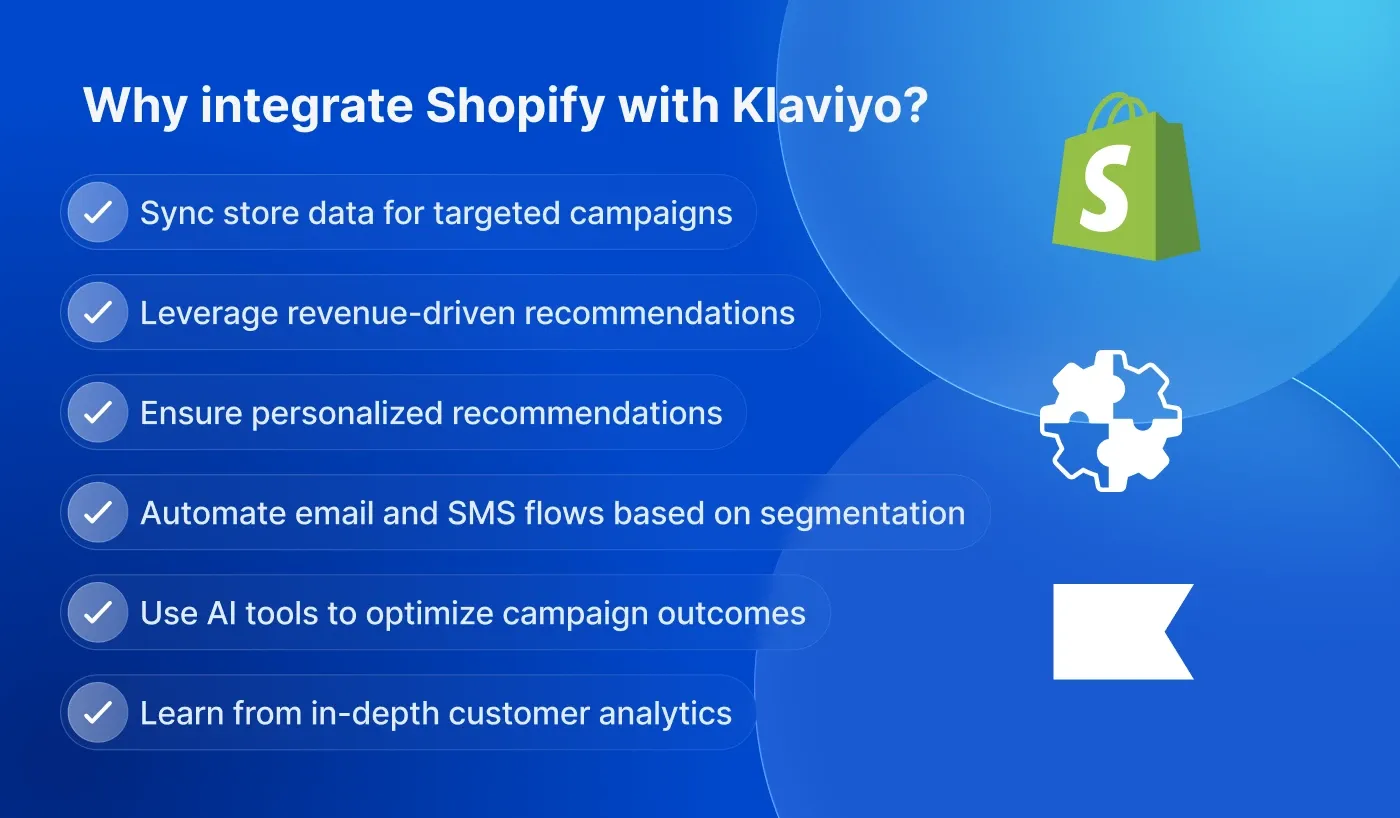
It seamlessly integrates with Shopify and allows you to sync customer data and order details for running targeted campaigns.
Klaviyo has ecommerce-specific features, such as recommendations for boosting sales and predictive analytics to forecast customer behavior.
It offers personalized product recommendations based on prior customer preferences and behavior patterns.
Klaviyo has advanced automation features, such as email and SMS flows based on customer actions and segmentation.
With Klaviyo’s AI-powered tools, you’re able to automatically personalize content, optimize send times, and find the gaps you can fill to improve campaign performance.
The service has in-depth analytics, allowing you to understand customer behavior, compare campaign performance with industry benchmarks, and more.
On top of that, Klaviyo offers flexible pricing and suits businesses of all sizes, no matter whether you use Shopify or Shopify Plus.
Klaviyo is considered one of the must-have Shopify apps for growing and established stores. If you’re looking for more essential apps that are both functional and optimized for performance, download our guide here to have it at hand.
How to integrate Klaviyo with Shopify: step-by-step instructions
Next, we review how to integrate Klaviyo with Shopify step by step. But before we dive in, note that Klaviyo offers two main services for Shopify merchants – Klaviyo Email marketing and SMS app, and Klaviyo Reviews app. Here, we review Klaviyo and Shopify integration processes for both services to let you see how it works and which steps are included.
Klaviyo with Shopify integration process to enable email marketing
The integration process implies connecting two platforms – Shopify and Klaviyo – to make them work together as a unified system, sharing data for efficient work. How to integrate Klaviyo with Shopify to run email and SMS campaigns?
#1 Connect Klaviyo to Shopify
To connect your Shopify store with Klaviyo, you need to either install the Klaviyo app and sync your data with the service during the installation process, or create your Klaviyo account and proceed with the installation specifically for Shopify. We recommend the first option, since it’s more straightforward. Once you click ‘Install’ in the Shopify App Store, you need to select a Shopify profile associated with your store. Add your store URL in the format ‘mystore.myshopify.com’ in the connection details and click ‘Connect to Shopify’ to integrate Klaviyo with Shopify.
During the installation, you'll sync Shopify subscribers with Klaviyo and your Klaviyo profiles with Shopify. If there are no specific requirements for your situation, continue with the default settings.
Next, you can choose how to use Klaviyo for Shopify – for email marketing, SMS, mobile push notifications, or reviews. To illustrate the process for email marketing first, we select only ‘Email’ here.
Once you click ‘Continue’, you’ll see plan recommendations. At this point, you can continue for free and upgrade once your subscriber list exceeds the limits of the free plan.
You already have a Klaviyo account synced with your Shopify store. Now, you’ll be able to handle all email marketing activities by selecting the Klaviyo app from your Shopify dashboard. This action will take you to the Klaviyo account for setting up and running your campaigns. Klaviyo provides a streamlined onboarding process for each channel, making setup easy. Next, you’ll see how it works for emails.
#2 Create a form
The next step of the onboarding process is creating a signup form.
Click ‘Create form’ and set up the appearance of the form on your website. First, select how the form shows up (popup, full page, flyout, or embedded), then add a teaser that appears after the form is closed.
Additionally, you can add a coupon for free shipping or a discount to encourage your customers to sign up. You can either choose recommended options at each step that are claimed to have the highest conversions, or select ones that resonate with you the most.
Once you’re done with how your website displays the popup, create the popup design using pre-made templates. You can redesign your popup anytime in the ‘Signup forms’ section of your Klaviyo dashboard.
After you click ‘Save’, Klaviyo will direct you to the Shopify editor, where you can place your popup and teaser in the store sections that best suit your goals.
#3 Turn on onsite tracking
To enable collecting data, you should turn on tracking users’ actions, such as visits, product views, collection views, search submits, and add-to-cart actions. If you see the onboarding screen, you can do it right there by clicking ‘Turn on’.
If not, go to Integrations → Shopify → Onsite tracking, click ‘Turn on’ for ‘Klaviyo app embed’, and check ‘Track behavioral events’.
To ensure that everything works right, go to your website and test all user activity events, then check how they’re reflected in the Klaviyo analytics.
#4 Set up a dedicated sending domain
Next, Klaviyo offers to set up your branded domain for sending emails to improve deliverability, since by default, your subscribers will receive emails from Klaviyo’s domain.
If you’re up for this change, click ‘Add Domain’ and follow the instructions: enter your root domain, such as myshopify.com, add your sending subdomain you don’t use elsewhere, select your domain provider, add DNS records, and click ‘Verify’. While Klaviyo is verifying your DNS records, you can proceed with the next step.
#5 Set up your email subscriber list
Klaviyo recommends collecting all email subscribers in a single list to streamline managing of the subscriber base. Set it up, following the onboarding process.
- Select your main list from the dropdown menu.
- Decide on the opt-in settings. Would it be double opt-in (with confirmation via email) or single opt-in (without a confirmation)?
- If you choose double opt-in, edit the confirmation email.
#6 Import existing contacts
If you already have subscribers and want to migrate them to Klaviyo from Shopify Email or other services, start importing the contacts.
Choose the type of contacts you want to import. In our case, it’s ‘Email’.
Select the list you want to add them to.
Upload your CSV file, up to 50 MB, containing existing contacts and associated information. After uploading a file, make sure that the data is transferred correctly and every column is mapped with the relevant Klaviyo property.
Check if you comply with the anti-spam laws for the imported contacts and choose the appropriate option. Then, click ‘Import’ in the upper right corner.
#7 Add your branding to Klaviyo
Next, you need to make your email branding consistent with your store design. Choose fonts and colors associated with your brand, add logos, images, and buttons that will be applied to your marketing emails.
You can change these settings if needed in the Klaviyo dashboard: Content’ → Images and brand.
#8 Invite your team
At the next step, you can invite your team members to manage your Klaviyo-Shopify integration and email marketing account. Add their email addresses and user roles from the drop-down list. Each role has its own access rules and responsibilities. Once you click ‘Add User’, your team member will receive an email with an invitation they should accept.
#9 Create a welcome email flow
To welcome your new subscribers and keep them engaged, you can create an email welcome series. For example, a user subscription would trigger sending a welcome email with a coupon for free shipping or a discount. Then, you can wait three days and send a follow-up email, inviting your new subscribers to follow you on social media.
#10 Create an abandoned cart flow
In a similar manner, you can create an email series for an abandoned cart event. In this case, the flow will be triggered when a visitor enters their email on the checkout page. If the visitor completes the purchase, the user will be removed from the flow. Klaviyo offers you the sequence of actions you can edit in line with your requirements.
If everything is set up correctly, you’re ready to create your first email campaign, be it a newsletter or sales promotion. Klaviyo has robust AI tools and templates that help create such emails and send them in a matter of minutes.
How to integrate Klaviyo with Shopify for Reviews
The process is much the same, since Klaviyo supports it with their step-by-step onboarding tips. If you skipped the onboarding process for some reason, you can connect this feature in the Reviews section of the Klaviyo dashboard. What are the steps?
#1 Install the Klaviyo Reviews app
As before, go to the Shopify App Store and install Klaviyo Reviews.
Once you connect Klaviyo to Shopify, you’ll see the onboarding process.
#2 Set up reviews
Click ‘Get started’ to edit your reviews widget style and install it in your store.
Next, you need to enable the Klaviyo app embed on your Shopify theme.
If you don’t see Klaviyo among your app embeds in your theme, go to the Integrations →Shopify in the Klaviyo dashboard and make sure that the Klaviyo app embed is on in the ‘Onsite tracking’.
Once it’s on, you can install the Product Review and Star Rating widgets, adding them to the right section of your product pages through the Shopify editor.
#3 Import reviews data
After the setup, you can import reviews data from other services either through the onboarding process or by going to Reviews → All reviews → Import reviews. Here, you need to choose your previous review provider, such as Shopify or Yotpo, and upload a CSV file with reviews.
There is an instruction for each service on how to export the reviews.
Common integration issues and how to resolve them
As you can see, the current flow for enabling Klaviyo for Shopify is quite straightforward and doesn’t require too much effort. The setup process could be time-consuming, but the integration itself seems not to cause any troubles even for non-technical users. However, you can still face some issues, especially if your store has custom setups or incorrect configurations. What are the most common issues based on Klaviyo Help Center and Shopify Help Center information?
Missing customer data sync. In this case, you should ensure that webhooks are enabled in the Shopify Admin → Settings → Notifications → Webhooks and reconnect services by going Klaviyo → Integrations → Settings.
Abandoned cart flow doesn’t trigger. If Klaviyo can’t capture the event, check if you use native Shopify checkout and it doesn’t redirect. Also, make sure that the ‘Started Checkout’ metric in Klaviyo is tracked correctly.
Email signup popups not working. If the signup form isn’t showing, check if the Klaviyo app embed is on. Also, if you use targeting or URL filters, thoroughly review your form settings.
Incorrect revenue reporting. If revenue associated with emails doesn’t correspond to Shopify reports, explore the differences between Klaviyo and Shopify attribution logic. You can also use UTM parameters in your emails to cross-check the reports.
Emails going to spam. In case your emails are flagged as spam or not delivered, ensure that you have verified your sending domain in Klaviyo settings.
Ensure seamless Klaviyo integration with DigitalSuits
If you face challenges integrating your store with Klaviyo, the DigitalSuits team is here to help you troubleshoot any issues and set up even the most complex workflows. As a certified Shopify and Shopify Plus Partner, we have in-depth knowledge and experience in developing and maintaining solutions tailored to different businesses. See some of our recent projects to explore how we handle Shopify integrations with multiple services, create custom features, and much more. Book a free consultation with our experts to get answers to your questions and start developing your project with a professional development team.
Frequently asked questions
How much does Klaviyo cost on Shopify?
Klaviyo for email marketing is free to use for up to 250 contacts. If you want to upgrade, the price grows in line with the number of contacts you want to work with, starting from $20 per month for 500 active profiles. The SMS feature in Klaviyo is free for up to 150 credits; paid plans start from $15 for 1,250 SMS credits. Up to 50 Klaviyo reviews are free; if you need more, expect to pay from $25/month for 250 review orders.
How do subscriptions work after Klaviyo-Shopify integration?
Subscribers are synced via the Shopify subscription model. Once a contact subscribes and leaves their email address on Shopify, they’re added to Klaviyo. An existing contact will need to place an order to be subscribed to comply with anti-spam law. At the same time, if a contact unsubscribes on Shopify, they’re not unsubscribed in Klaviyo, and profiles deleted in Shopify are not deleted in Klaviyo.
How do I set up SMS on Klaviyo?
Go Klaviyo→Integrations→Shopify→Sync Settings and click Set up SMS. Then, you need to select the countries you plan to send SMS in, add your company information, including physical address and phone number, which the system will verify. Once it’s done, check Sync your Shopify SMS subscribers to Klaviyo in the Sync Settings and select your SMS list. To get consent from your visitors to send SMS, you can set up promotional and transactional SMS consent on Shopify pages with a Klaviyo app block ID.











Was this helpful?
0
No comments yet